 Banana DNA Extraction:
Explore Genetics with a Simple Kitchen Experiment!
Explore Genetics with a Simple Kitchen Experiment!
Ever wonder what DNA actually looks like? With this hands-on banana DNA extraction experiment, your learners can see real strands of DNA—right from a ripe banana—using simple household materials. This unforgettable science activity introduces foundational concepts in genetics, molecular biology, and lab procedures in a way that’s accessible, visual, and fun.
Ideal for grades 3–8 but adaptable for K–12, this activity takes the mystery out of what makes us… us! It also builds curiosity about cells, molecules, and how scientists extract and study genetic information in real labs. Whether you’re looking for a way to enhance a homeschool biology unit or just want a memorable kitchen science day, this one delivers.
This experiment isn’t just a visual treat—it’s an opportunity to teach children about the inner workings of life. With guided instruction, even young learners can understand the role DNA plays in inheritance, cell function, and biological diversity. You’ll introduce vocabulary like “cell membrane,” “nucleus,” and “precipitation” in a natural context that sticks. More importantly, kids will come away with a sense of wonder: “Wow, I just saw DNA!”
What Is DNA?
DNA (Deoxyribonucleic Acid) is the instruction manual inside all living things. It’s a molecule found in the nucleus of every cell and contains the information an organism needs to grow, survive, and reproduce. DNA is structured like a twisted ladder, known as a double helix, and it’s made of four types of bases: adenine (A), thymine (T), cytosine (C), and guanine (G). These bases pair in specific ways—A with T, and C with G—to encode all biological information.
In humans and other complex organisms, DNA is organized into chromosomes. A banana’s cells, interestingly, have three copies of each chromosome instead of two, which makes bananas particularly great for extraction experiments—they yield more visible DNA.
Helping students see that DNA isn’t just a diagram in a book—but something real they can pull out of a banana—makes science personal, exciting, and empowering.
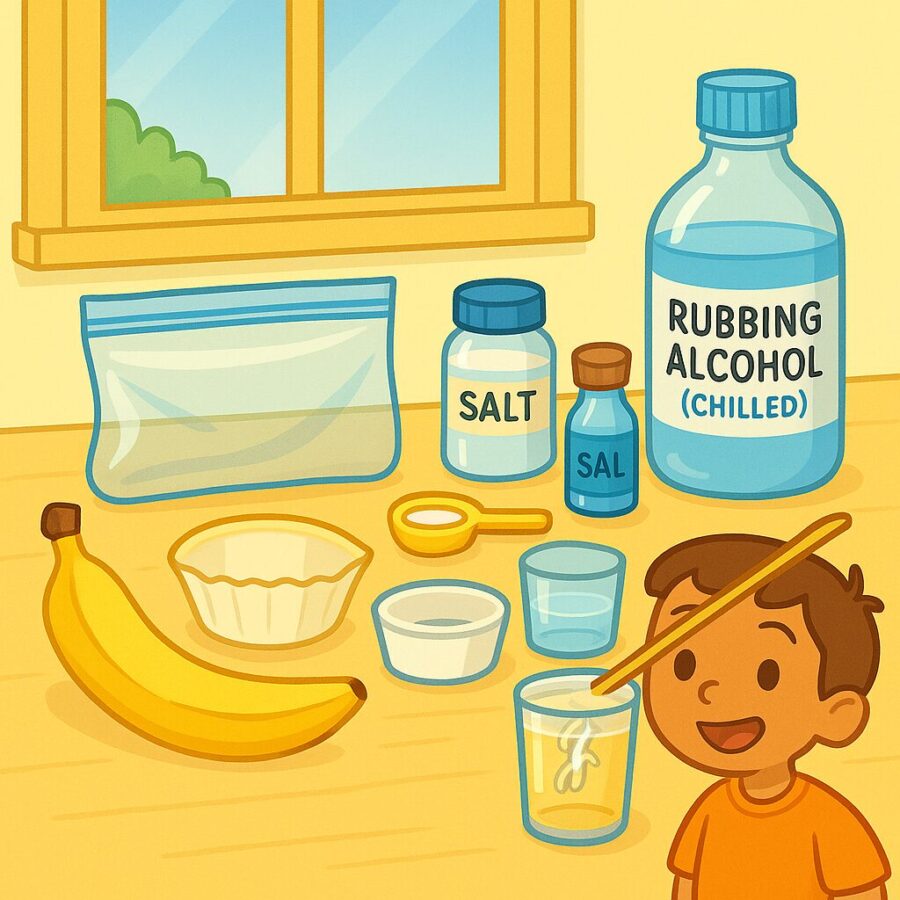
Materials
- 1 ripe banana
- 1 plastic zip-top bag (quart-sized)
- 1/2 cup water
- 1 teaspoon table salt
- 1 teaspoon liquid dish soap (clear if possible)
- Small cup or beaker
- Coffee filter or paper towel
- Small glass or clear container (like a test tube or shot glass)
- Cold rubbing alcohol (isopropyl, 90%+), chilled in the freezer
- Measuring spoons
- Toothpick or skewer
Step-by-Step Instructions
- Mash half a banana in the plastic bag thoroughly until smooth. Try to get rid of all chunks. The smoother the mash, the more effective the extraction.
- In a separate cup, mix 1/2 cup of water, 1 tsp of salt, and 1 tsp of dish soap. Stir gently. The solution should be uniform but not foamy.
- Pour the solution into the banana bag. Seal and mix again by kneading it gently with your fingers. This helps break the banana’s cells open.
- Set up a filter: Place a coffee filter or paper towel over a cup. Slowly pour the banana mixture into the filter and wait for the liquid to drip through. This may take 5–10 minutes.
- Pour the filtered liquid into a small clear container, filling it about 1/3 full.
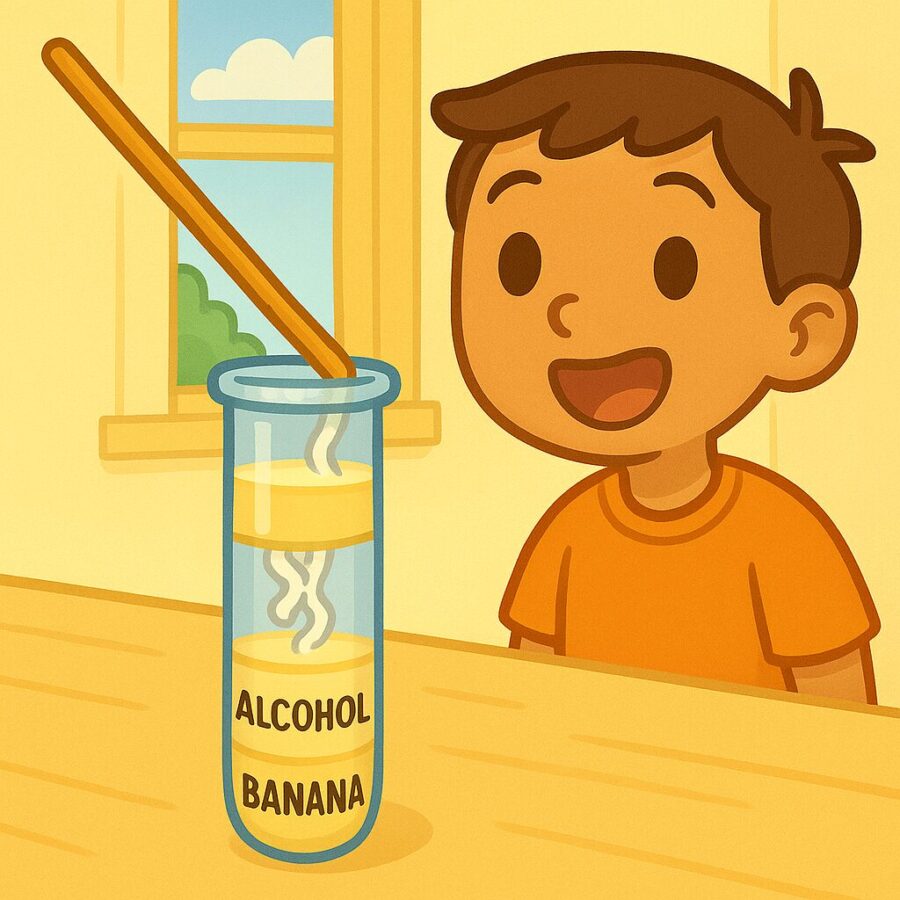
- Now slowly add an equal amount of cold rubbing alcohol by pouring it down the side of the container. It should form a separate layer on top.
- Wait 2–3 minutes without disturbing the container. Watch closely. You should begin to see cloudy, stringy clumps forming between the layers.
- Use a toothpick to carefully pull up the DNA. It will look like white, mucus-like strands—totally safe and totally amazing!
The Science Behind It
What you’re witnessing in this experiment is a simplified version of what scientists do in genetics labs every day. Let’s break it down so you can explain it confidently to your child or student:
Step 1 – Breaking open cells: Cells are tiny units that make up all living organisms. Each cell has a protective outer membrane and a nucleus, which holds the DNA. When you mash the banana and mix in the salt and soap solution, you’re breaking down those membranes so the DNA can escape.
Step 2 – Releasing the DNA: The soap in your mixture helps dissolve the lipid (fat) layers of the cell and nuclear membranes—like how dish soap cuts grease. Salt helps stabilize the DNA by neutralizing the negative charges on the DNA strands, which would normally repel each other.
Step 3 – Precipitating the DNA: Once the cells are broken and the DNA is floating in the solution, you need to make it visible. That’s where the cold rubbing alcohol comes in. DNA doesn’t dissolve in alcohol—especially when it’s cold. When you pour the alcohol on top, it pulls the DNA out of solution, forming cloudy, stringy clumps at the interface. This is called precipitation.
This experiment mirrors real-world genetic protocols used to extract DNA for crime scene investigation, ancestry testing, crop improvement, and disease research. The difference? Scientists use special buffers, enzymes, and centrifuges. You’re using kitchen supplies—but the science is still real.
And because bananas are soft, rich in cells, and genetically triploid (having three sets of chromosomes), they’re ideal candidates for DIY DNA extraction. The high DNA content makes the results more dramatic—perfect for visual learners!
Extension Ideas
- Try extracting DNA from strawberries, kiwi, or spinach. Which works best?
- Have your student create a comic or storyboard illustrating each step of the experiment.
- Connect the experiment to discussions of traits: Why do children look like their parents?
- Introduce punnett squares and dominant/recessive traits to build on the DNA theme.
- Research careers that use DNA extraction—from forensic scientists to agricultural biotechnologists.
Teaching Tips
- Use simple visuals: draw a cell and show how the DNA is inside the nucleus.
- Explain “precipitation” as the opposite of dissolving—like when sugar falls out of a saturated drink.
- Use vocabulary naturally. For example, “nucleus” = control center; “membrane” = skin or wall.
Standards Alignment
MS-LS1-1: All living things are made of cells.
MS-LS3-1: Genes influence traits; mutations may affect proteins.
3-LS3-2: Inheritance and variation of traits.
Worksheet & Generator
Want to save this lesson for later? Download the worksheet below—or build your own science experiment with our generator!
Frequently Asked Questions
Yes—strawberries and kiwis work great and often produce even more visible DNA.
Yes! It’s just clumped molecules—not harmful, but not sterile or edible.
Cold, high-proof clear liquor like vodka may work in a pinch—but results vary.
Yes, with supervision. It’s safe and very visual—great for all ages.
Related Experiments
- Germ Spreader Challenge
- Dancing Raisins
- Egg Floatation in Different Liquids
- Browse All Science Experiments
Share Your Results
Did you try this experiment? Post a picture and tag us @homeschoolgenie or leave a comment with your observations!
⭐ What Parents & Teachers Are Saying
Recent Feedback
There are no reviews yet. Be the first one to write one.