 DIY Electrophoresis:
Simulate DNA Separation at Home
Simulate DNA Separation at Home
Curious how scientists separate DNA in a crime lab? With this hands-on DIY electrophoresis experiment, your learner can simulate how electricity pulls molecules through a gel—just like in real molecular biology labs. Using food coloring and gelatin, this kid-friendly model reveals how size affects molecular movement. Perfect for upper elementary and middle school students, this experiment combines science, electricity, and engineering all in one project.
Experiment Overview
- Grade Level: 4th–8th Grade
- Key Topics: Electrophoresis, Molecule Size, Electric Current
- Estimated Time: 45–60 minutes (including gel setting)
- Mess Factor: Low–Medium (gel + food coloring)
Purpose: To demonstrate how molecules move through a gel when electric current is applied, modeling how scientists separate DNA by size.
Hypothesis: If smaller molecules move more easily through the gel, then they will travel farther than larger molecules when electricity is applied.
What You’ll Need
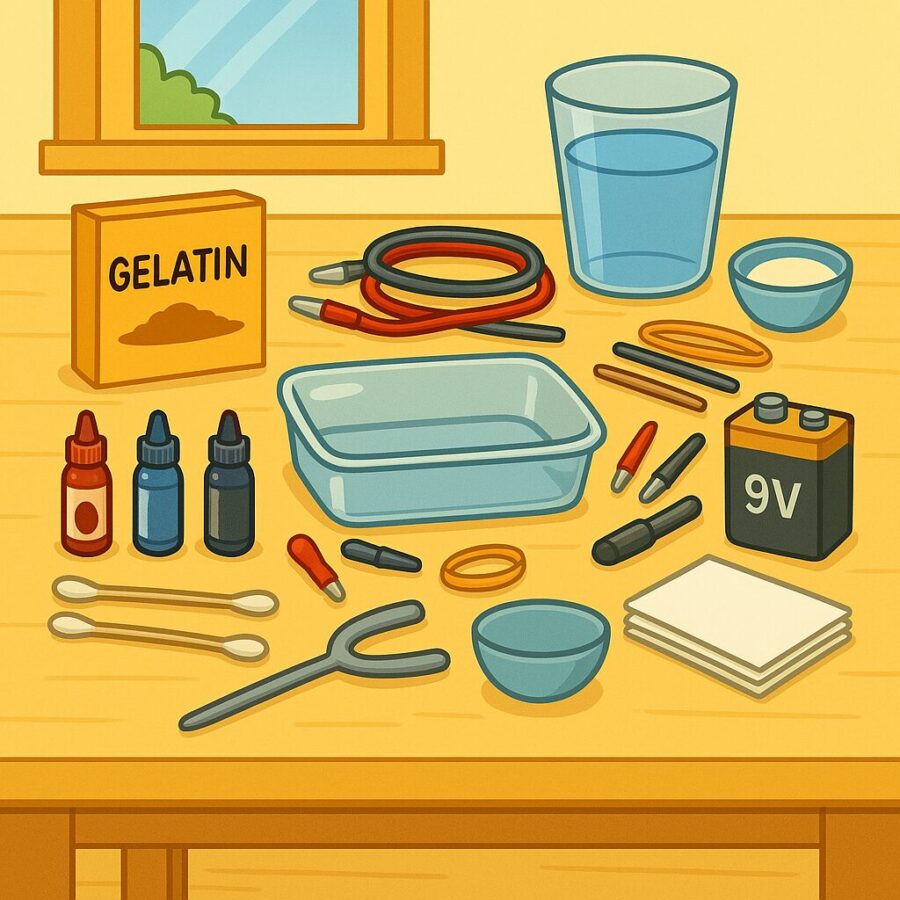
- Clear plastic container (6″ x 4″ x 2″)
- 1 packet unflavored gelatin (approx. 3 tablespoons)
- 1 cup warm water
- 1 tablespoon salt
- 4 alligator clip wires
- 9-volt battery
- 2 short pieces of graphite pencil lead
- Rubber bands or tape (to secure electrodes)
- Food coloring (red and blue)
- 2 cotton swabs
- Plastic spoon
- Small mixing bowl
- Paper towels
- Adult supervision

Step-by-Step Instructions
- In a small bowl, dissolve 1 packet of unflavored gelatin and 1 tablespoon salt in 1 cup of warm water. Stir until fully dissolved.
- Pour the mixture into the plastic container and refrigerate for ~30 minutes, or until firm but not rubbery.
- Prepare your food coloring samples: mix a drop of red coloring in one small dish with water and blue in another.
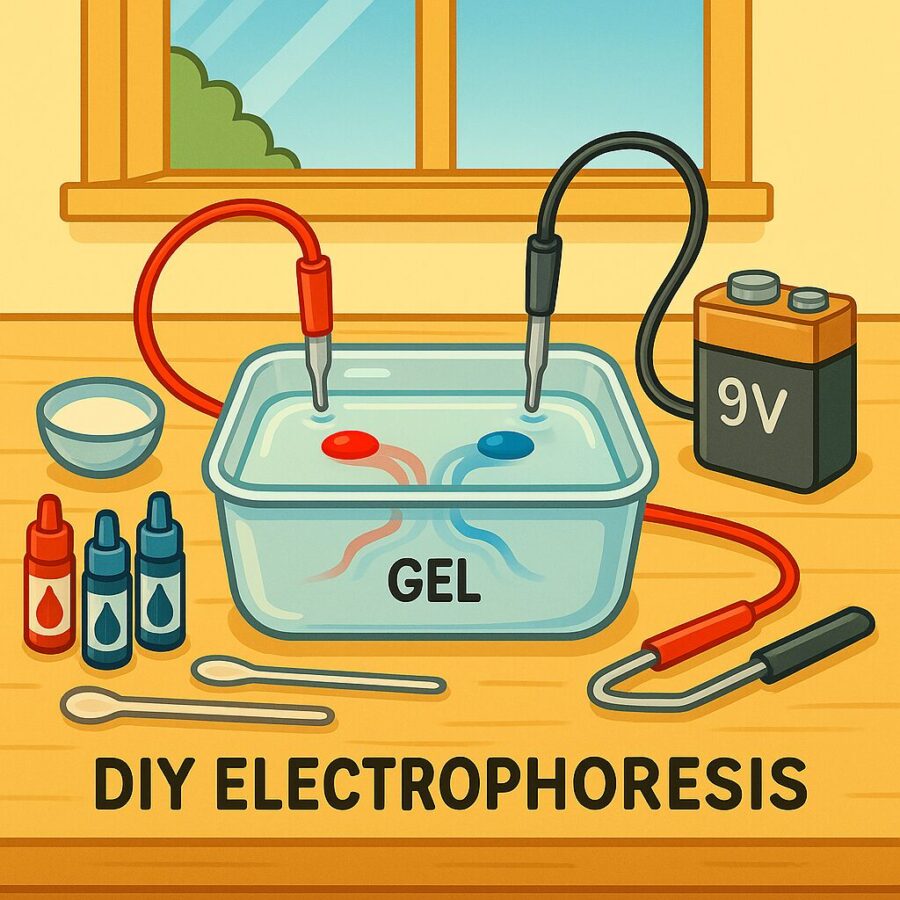
- Insert graphite leads (electrodes) horizontally into opposite ends of the gel surface. Secure with rubber bands or tape.
- Connect alligator clips: clip one to each piece of pencil lead, and the other ends to the positive and negative terminals of the battery.
- Using cotton swabs, place a small dot of red food coloring near the negative terminal and blue near the positive terminal.
- Power on the battery circuit and observe for 15–20 minutes.
- Watch how the red and blue dyes move through the gel. The red (representing smaller molecules) should travel farther.
- When finished, disconnect the battery, clean up materials, and record your observations.

Results & Scientific Explanation
During the experiment, the red dye moved farther through the gelatin than the blue dye. This is because smaller molecules experience less resistance and can navigate the gel network faster. The gelatin acts as a “molecular sieve”—it slows larger particles and allows smaller ones to pass more easily.
This process, called gel electrophoresis, is used in molecular biology to analyze DNA, RNA, and proteins. When scientists run DNA samples through an electrophoresis gel, they can identify fragments by how far they move under electric current.
Why It Works:
- Electric Current: Moves charged particles toward the opposite pole.
- Gel Matrix: Creates resistance—the smaller the molecule, the easier it slips through.
- Simulated DNA: The dyes represent molecules of different size and charge.
Even though this isn’t real DNA, it’s a powerful model that brings abstract biotech concepts to life for students at home.
Teacher & Parent Tips
- Use a ruler or measuring tape to measure how far each dye moved. Record this data in a chart.
- Explain how this process is used in criminal investigations and paternity testing.
- Want a challenge? Try using different gel thicknesses or different brands of gelatin to see how movement is affected.
- Let students sketch the gel with dye positions before and after applying current.
- Make safety part of the lesson—discuss current limits and battery voltage.
Standards Alignment
NGSS 4-PS3-2: Make observations to provide evidence that energy can be transferred.
NGSS 3-5-ETS1-2: Compare possible solutions to a problem based on performance.
Math MP2: Reason abstractly and quantitatively (measure dye travel, discuss variable conditions).
Printable Worksheet
Use this ready-to-go worksheet to reinforce the concepts covered in your DIY electrophoresis experiment.
Frequently Asked Questions
It introduces the idea that molecules behave differently based on their size and charge, which is the foundation of techniques like DNA fingerprinting, protein analysis, and biomedical testing. Students also learn the basics of circuits, observation, and data recording.
Yes, as long as it is done under adult supervision. A 9V battery provides low current, but safety matters—students should not touch exposed wire ends or place wet objects near the battery.
Not really. Once the dyes move through, the gel’s consistency and clarity change. It’s better to make a new gel for each trial to keep observations clean.
In this setup, red dye simulates smaller molecules while blue simulates larger ones. The red dye particles are smaller and face less resistance as they move through the gel network, allowing them to travel farther.
Related Experiments
Share Your Results
Tried this at home or in your classroom? Share your feedback below!
⭐ What Parents & Teachers Are Saying
Recent Feedback
There are no reviews yet. Be the first one to write one.

