 DIY Cloud Chamber:
Visualize Cosmic Rays and Make Subatomic Science Come to Life

Visualize Cosmic Rays and Make Subatomic Science Come to Life
What if we told you that cosmic rays—high-energy particles from outer space—are constantly passing through your body and your home every second of every day? It’s true. And with this DIY Cloud Chamber science experiment, students can actually see the invisible. Using household materials and dry ice, you’ll build a homemade particle detector that lets you observe real subatomic particles in action. This is one of the few science projects where students can directly witness quantum-scale physics using only their eyes.
Designed for middle schoolers and up, this experiment blends physics, astronomy, chemistry, and engineering. It’s a captivating, hands-on way to demonstrate the existence of radiation, the structure of matter, and the amazing unseen forces that shape our universe. It’s also a powerful way to introduce topics like ionization, particle physics, and Earth’s protective atmosphere—all in your kitchen or classroom.
Overview
- Grade Level: 6th–10th Grade
- Topics: Cosmic Rays, Radiation, Subatomic Particles
- Time Required: 45–60 minutes including setup
- Mess Factor: Low (but dry ice safety precautions required)
Purpose: To observe the invisible tracks of cosmic rays and charged particles using a DIY cloud chamber.
Hypothesis: If a cold, supersaturated alcohol vapor is present in a sealed chamber, then passing particles will leave visible condensation trails as they ionize the vapor.
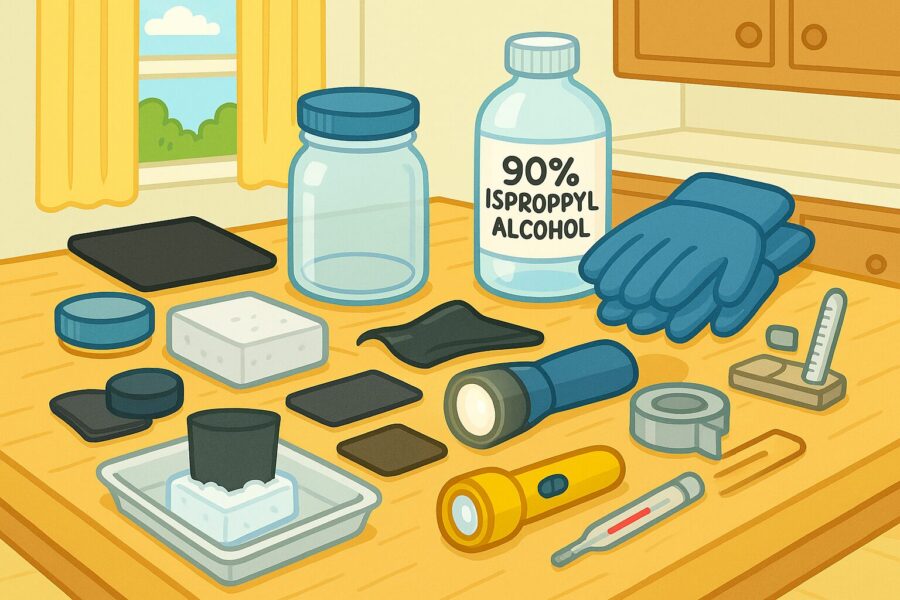
Materials
- Clear glass or plastic jar with a lid (about 1 quart)
- Black felt or black construction paper
- Isopropyl alcohol (90% or higher), ~1 cup
- Dry ice (~5 pounds)
- Styrofoam cooler or thick foam tray (to contain dry ice)
- Thick gloves or tongs (for dry ice handling)
- Flashlight or strong LED
- Optional: tape, thermometer
Step-by-Step Instructions
- Use gloves to place 1 inch of dry ice into your foam tray or cooler.
- Soak the black felt with isopropyl alcohol until damp but not dripping. Press it to the inside of the jar lid.
- Quickly seal the jar with the lid (felt-side inward) and invert the jar onto the dry ice surface.
- Let the system cool for 5–10 minutes. The alcohol vapor will begin to fill the jar and become supersaturated.
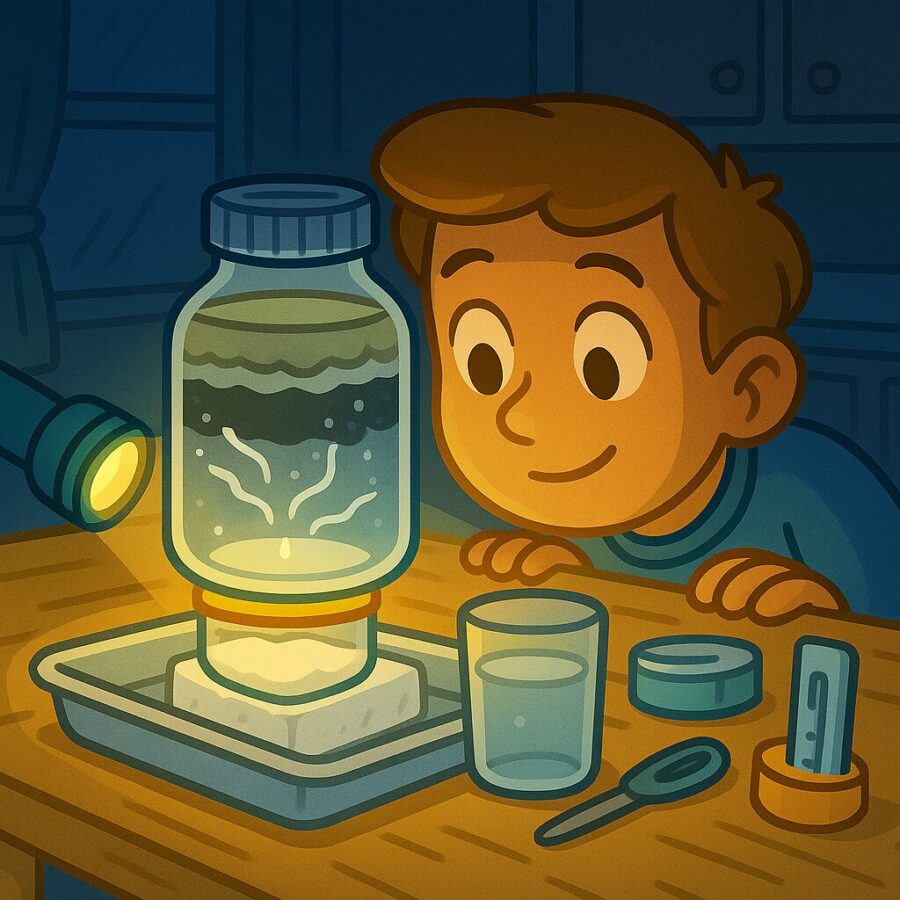
- Turn off lights and shine the flashlight from the side into the chamber. Look closely.
- Thin white lines and squiggles will begin to appear—these are the tracks of cosmic rays and other subatomic particles.
- Observe, record, and describe the patterns for several minutes. Don’t touch the dry ice directly.
How It Works
The cloud chamber was one of the earliest tools used in particle physics. It works by creating a cold, supersaturated vapor of isopropyl alcohol inside a sealed environment. When high-energy particles (like cosmic rays or natural background radiation) pass through this vapor, they ionize atoms in their path.
The alcohol vapor condenses on these ionized paths, forming tiny droplets that become visible as white lines or trails. These trails typically last just a few seconds before evaporating. By using dry ice, the alcohol vapor is cooled just below its condensation point—creating the ideal conditions to make the invisible visible.
Cosmic rays are high-energy particles originating from the sun or distant stars. Most are harmless because Earth’s atmosphere absorbs them. But a few pass through the atmosphere and reach the ground, where they can be detected by devices like this DIY cloud chamber.
This experiment shows students:
- How radiation travels and interacts with matter
- The real-world application of subatomic particle detection
- The principles of ionization and supersaturation
- The existence of natural radiation in our environment
Types of Particle Tracks
Not all tracks look the same. Part of the excitement in using a cloud chamber is identifying different types of particles based on their path shape and behavior.
- Straight, long trails: Likely muons from cosmic rays. These move fast and pass directly through the chamber.
- Short, curved trails: Alpha particles. These are slower and heavier, creating thick arcs.
- Thin, branching trails: Beta particles or electrons. Their paths scatter due to collisions with vapor molecules.
- Sudden bursts or spirals: Gamma rays or decay particles. Rare but exciting to witness.
Encourage students to sketch the trails they see and compare them with known patterns used in scientific research.
Learning Objectives
- Understand what cosmic rays and ionizing radiation are
- Learn how supersaturated vapor reacts to passing charged particles
- Identify and describe patterns of subatomic particle tracks
- Connect observations to concepts in physics and astronomy
Worksheet & Generator
Use our ready-made worksheet or design your own cosmic particle experiment using our generator tool!
Frequently Asked Questions
Yes—with proper adult supervision. Dry ice can burn skin, so gloves or tongs are essential. Ensure the workspace is ventilated and well-monitored. The isopropyl alcohol should be kept away from flames. With these precautions, this experiment is both safe and fascinating.
Dry ice keeps the chamber extremely cold, just below the condensation point of the alcohol vapor. This creates the supersaturated conditions needed to make trails appear when particles pass through. Without dry ice, the alcohol would not cool fast or low enough.
Yes! Most visible tracks will be from muons and alpha particles. Occasionally you may see a beta particle or electron. Gamma rays are much harder to spot. Observing multiple track types adds depth to your data collection and encourages pattern analysis.
Turn off surrounding lights and shine a flashlight at an angle from the side. Use a black felt background to enhance contrast. Let the system cool for 10 minutes before observing. Patience and low light conditions are key to seeing the best results.
Related Experiments
Share Your Results
We’d love to see your particle trail sketches and observations. Share photos and experiences with us @homeschoolgenie or in the comments below!
⭐ What Parents & Teachers Are Saying
Recent Feedback
There are no reviews yet. Be the first one to write one.